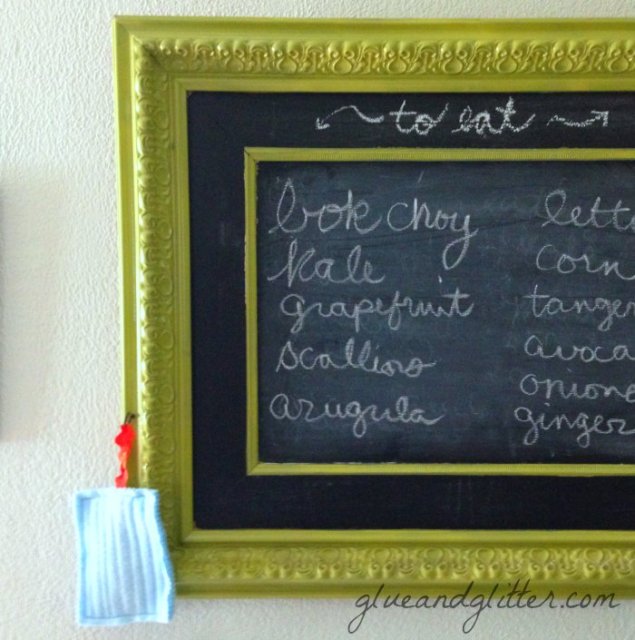
 Why throw away that horrifying piece of art when you can turn it into a functional kitchen chalkboard?
You can use it to write grocery lists, weekly menus, or keep track of what’s in the produce drawer. Even special love notes!
In this Green Divas DIY segment, I explain this EASY DIY project to make a useful kitchen chalkboard out of a piece of crappy art that is framed.Then read on for step-by-step instructions.
Having a chalkboard in the kitchen is super duper handy.
You can keep track of what you have in the fridge, which makes planning meals on the fly so much easier. Since we started keeping a “to eat” list on the wall in our kitchen, my days of finding a slimy, forgotten bunch of arugula in the bottom of the produce drawer are basically over.
You can paint your wall with chalkboard paint, but if you want to go a little bit fancier (or you can’t paint the walls because you rent), you can turn an old piece of framed art into a new chalkboard! The chalkboard pictured above was some terrible hotel art that I found on the side of the road. I don’t have a before picture, because I made my original chalkboard years ago.
We recently decided to change things up in our kitchen, and I wanted to revamp our old kitchen chalkboard to match. But the tutorial below is how to make a kitchen chalkboard from start to finish.
DIY Kitchen Chalkboard
Here’s What You’ll Need
- hideous hotel art in a cool frame—Mine was free by the side of the road.
- chalkboard paint—Even my big piece of art used hardly any paint, so this little jar will more than do the trick.
- paint brush
- spray paint – There are water-based spray paints out there, like Krylon H2O. If you can get your hands on some, this is a much less fumey way to paint your frame!
- painter’s tape
Here’s How
1. Use your big paint brush to paint the chalkboard and paint right over the ugly art. Follow the package directions for drying times! I let mine dry overnight before moving on to the next step.
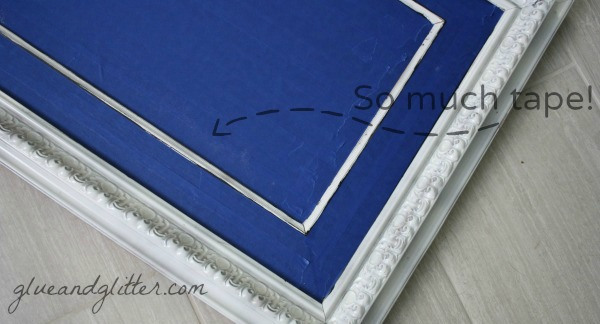
2. Tape over the chalkboard paint. All of it. Leave no paint untaped! Spray paint will not be wrangled.

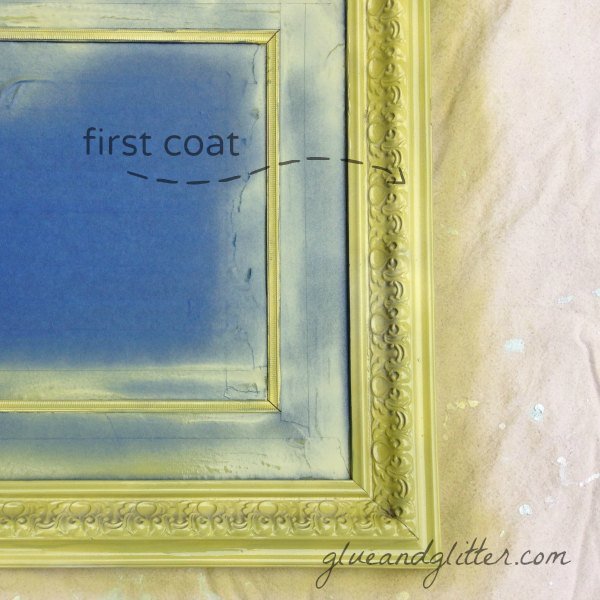
3. Spray light coats of spray paint over the frame until you have a nice, even coat. It took 3-4 coats to get the paint looking nice and even. Let the paint dry for about an hour before removing your tape.
 If you want to be extra fancy and add a hanging eraser, you can check out my tutorial on how to make one! I just used a simple screw-in hook, so my eraser hangs right next to our chalkboard.
Bonus DIY:
Learn how to upcycle mason jars into fun glitter jars in my other Green Divas DIY segment. For more DIY podcast segments, click here.
Pingback: Thrifts and Crafts | THE.NIGHT.SHIFT