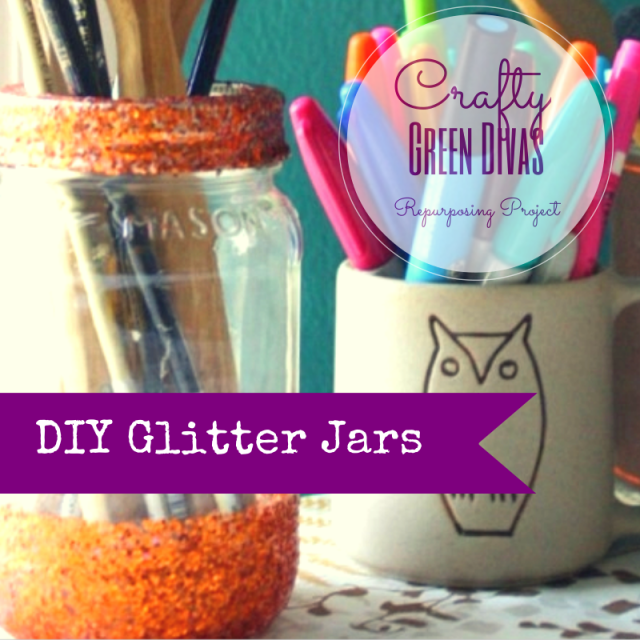
Becky Striepe is one of our newest Green Divas from the site Glue and Glitter. She shared this fun do-it-yourself tutorial for jazzing up an old glass jar with a couple of simple craft supplies to make glitter jars. Way to repurpose!
I got the idea for this craft after a glimpse at my site stats showed me that a lot of folks were finding me by searching for “glitter mason jars.” They must have been disappointed to click over and find that I don’t actually use a lot of glitter in my crafts, despite my site’s name. Hopefully these glitter jars satisfy their glitter mason jar desires!
You can use any old glass jar for this tutorial, and any size will work. An old pasta or jelly jar is perfect. These are great for organizing craft supplies, and they make cute gifts, too. These are very simple to make, you just need a little patience while things dry. I believe in you!
First, listen to this fun podcast and let Becky describe in detail how to do this great GD DIY Glitter Jar project!
A couple of notes about the supplies below:
- I used regular craft store glitter, which is made of plastic, because I had some in my stash already from a long time ago. You can also use regular glitter, but if you’re avoiding plastic, you can actually find glitter that’s made from glass. It’s German, and it’s beautiful.
- You really do need Mod Podge. I don’t usually require specific brands for my projects, but for decoupage-type projects, Mod Podge is better than watered down glue. It’s a non-toxic craft supply, and it’s a good thing to have on hand, so go for it!
Make DIY Glitter Jars!
Here’s what you’ll need:
- 1 glass jar with a lid or ring for the top
- painter’s tape
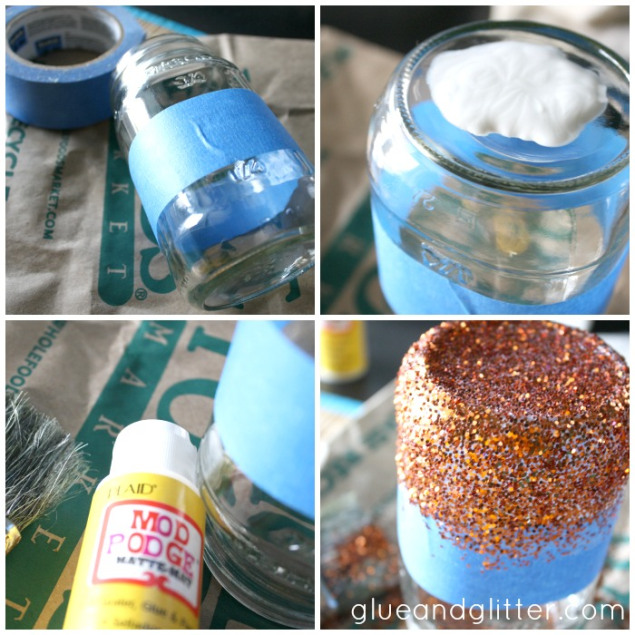
- matte Mod Podge
- paint brush
- glitter in your favorite color
- large piece of scrap paper to cover your work area–I used an old grocery bag.
Here’s how:
1. Lay down that scrap paper. Seriously, do this. You know that joke about glitter being the herpes of craft projects? The scrap paper will help reign in some of the glitter. Though I can’t promise that you won’t find bits of glitter for months after doing this messy project. Think of it as a shiny reminder of how much fun you had making your glitter jars!
2. Tape off your jar. You’re going to be painting glue onto the bottom of the jar up to the tape line, so you want the bottom of your tape at the point where you’ll want the glitter to stop.
3. Flip your jar upside down and paint it with Mod Podge, making sure you cover it evenly.
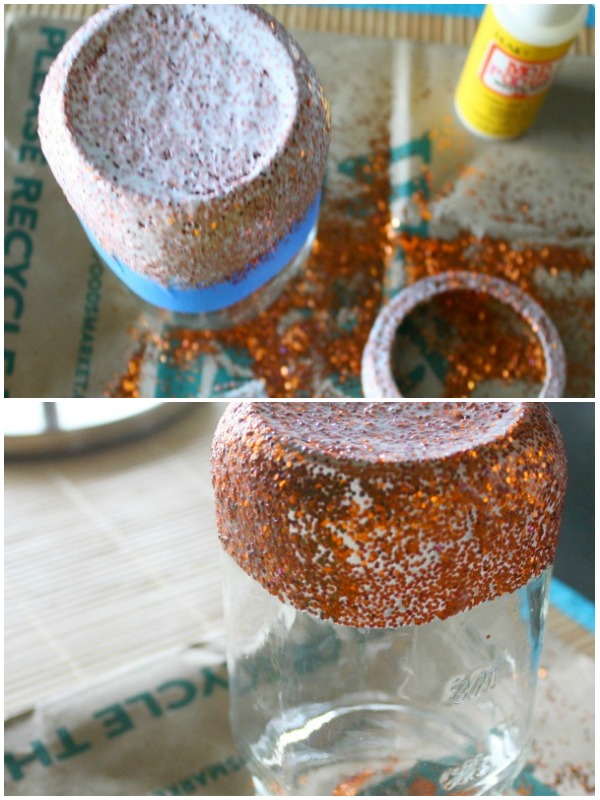
4. Use the glitter’s shaker spout to apply glitter generously over all of the painted area of your jar. Don’t worry about waste, because you can gather fallen glitter up with the paper later to reclaim it.
5. Paint your jar’s lid or ring with Mod Podge, making sure you get the whole outside nice and covered, then shake on a generous amount of glitter to cover the whole lid or ring.
6. Let everything dry for 20 minutes.
8. Cover the glitter on both the jar and the rim/lid with another layer of Mod Podge to keep it from flaking off over time. The Mod Podge goes on white, but it dries clear, so don’t worry! Your glitter will shine through when this project is finished.
9. After 10 minutes, carefully peel off the tape. Don’t wait more than 10 minutes before removing your tape, because if you let it totally cure, you’ll end up peeling off glue and glitter along with the tape. Once everything is completely dry, flip your glitter mason jars right side up, and you’re ready to stash whatever you like in there!

