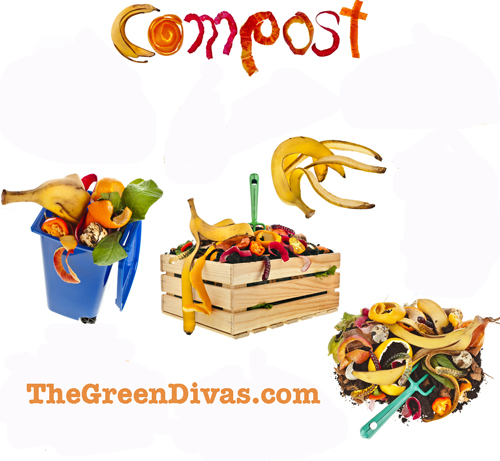
For most Green Divas Foodie-Phile segments, we talk about the history, health benefits and ways to make amazing food. What we haven’t discussed too often, however, is how to repurpose food waste after the meal is over. I have a one-word answer for you: compost.
All Green Divas should participate in some form of composting. I know. I know. If you don’t already, you are probably thinking, “Ew, gross. I don’t want to keep my smelly leftovers around.” First of all, done correctly, compost shouldn’t smell. Even the rumor that composting attracts bugs, mice or other vermin is just not the case — again, if done properly. First rule of clean composting: keep dairy products and meats out of your compost pile. 
Instead of throwing away your food scraps, why not use them to make your garden, house plants (or a community garden) happier and healthier? Honestly, the benefits are astounding. It’s easy, cheaper, healthier, and most importantly, it can be easily incorporated into anyone’s lifestyle.
Many communities and cities are starting community composting programs, where you are provided with a bucket that you leave out with your trash. Here’s one great community composting program in Rochester, NY. If you don’t have one in your community, get active and make it happen!
Here is a handy list of What is Compostable and what isn’t.
Anyways, let’s get composting!
1. Start Your Compost Pile on Bare Ground
By doing this, you are allowing worms and other beneficial creatures to aerate the compost and be transported to your garden beds. First lay a few inches of twigs or straw down. This will help with drainage as well as aerate the pile.
 2. Add Compost Materials in Layers
Alternate the compost between moist and dry leftovers. Moist ingredients are food scraps, tea bags, seaweed, etc. Dry materials are straw, leaves, sawdust and wood ashes. If you have wood ashes, sprinkle in thin layers or they will clump together and take forever to decompose
3. Add Manure (and other Nitrogen sources)
By adding manure, clover, buckwheat, wheatgrass or grass clippings, you are providing the compost with a nitrogen source. This will activate the compost pile and speed up the decomposition process. Eggshells, rinsed and broken up are great sources of nitrogen for the compost.
4. Keep Compost Wet
It is important to keep the compost moist by watering occasionally letting rain do the job. This also adds in the material breaking-down.
5. Keep Compost Covered
Cover the compost with anything you have. Wood, plastic sheeting or carpet scraps do the trick. Covering helps retain moisture and heat which are two essentials for the compost. Covering also prevents the compost from being over-watered by rain. Basically, you want your compost moist, but not over-saturated or sodden.
6. Remember to Turn the Compost
Every few weeks or so, be sure to give the pile a quick turn with a pitchfork or shovel. This aerates the pile. Oxygen is required for the process to work and turning exposes the entire pile to oxygen. You could skip this step if you have a ready supply of course material, such as straw.
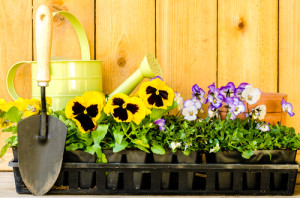 And WAH-BAM! Once your compost pile is established, add new materials by mixing them in instead of adding them in layers. Your garden (or your local community garden) will thank you
Looking for more information, check out the EPA’s composting ideas and guidelines.
Compost image via Shutterstock
Dirt image via Shutterstock
Autumn leaves image via Shutterstock
Watering Can image via Shutterstock
Pansy image via Shutterstock
Green Diva Meg
February 26, 2014 at 7:18 am
Can’t wait to get into the garden and use some of that rich compost this spring!
Pingback: Easy Organic Compost infographic | Care2 Healthy Living