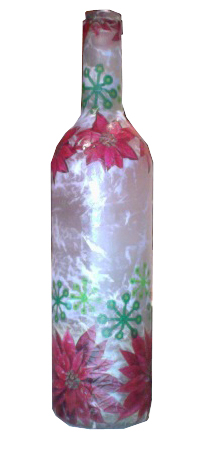
 Counting Down to Christmas, but you can do this!
I know everyone of a certain age—let’s say those of us who grew up in the 70s and 80s or anyone who was a Girl Scout in that era—can tell you about decoupage. Most of us have even created a few decoupaged projects. Well … it’s time to gather your children and dare I say it, in some cases even your grandchildren, to teach them the art of decoupage.
Decoupage or découpage is a French term meaning “cut out” or “cut up”. Decoupaging is the art of decorating an object—this can be anything; a glass bottles, a wooden boxes, plastic bowls, even furniture, etc.—using pieces of paper glued on to whatever object you choose. Perfect for creative DIY gifts!
Sometimes paint, especially gold paint or gold leaf is used to further embellish the item. Each layer is sealed with multiple coats of varnishes until the paper edges disappear resulting in what looks like a painted or even inlayed finished project.
The traditional technique used 30 to 40 layers of varnish which were then sanded to a polished finish. Uh?, we’re not going to do that here. A couple of layers of Mod-Podge or even spray on urethane or clear gloss varnish will do just fine!
Let’s have some fun and decoupage some DIY gifts . . .
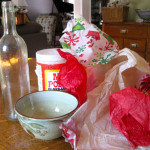
Here’s what you need
- Glass Bottle – any shape and any size
or a
- Wooden Box or even a nice sturdy cardboard gift box (NOT corrugated)
or an
- Old Chair or any piece of furniture
- Tissue paper – all colors
- Craft or Scrap-booking paper: all colors and designs
- Magazines, Newspaper, Junk Mail, Old Books
- Wrapping paper or Greeting Cards
- Thin Fabric
- White Glue
- Scissors or Craft Knife
- Small Paint Brush
- Fine Grit Sandpaper
- Mod-Podge
Where the paper is concerned, use what you like or whatever you determine will be the theme or the finished project.
Here’s what you do
I am a sloppy worker which drives my daughter Antares absolutely nuts. In fact, while she loves consuming all the yummies I make in the kitchen, she never fails to point out and belly-ache about the mess I leave behind. So, if you’re like me, you may want to …
1. Cover your work surface with newspaper or a drop-cloth.
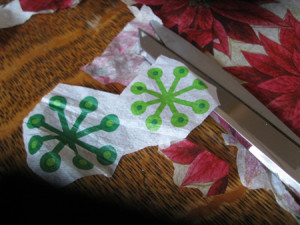
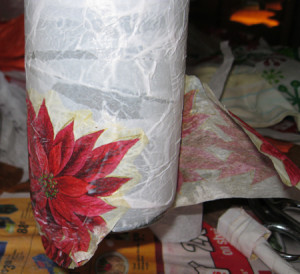
2. Prepare the paper by tearing or using scissors/craft knife, cutting it into any shape or size. Ripping the paper creates smoother edges. For this project, I ripped the paper into long thin strips. Then I cut several designs out of the decorated tissue paper.
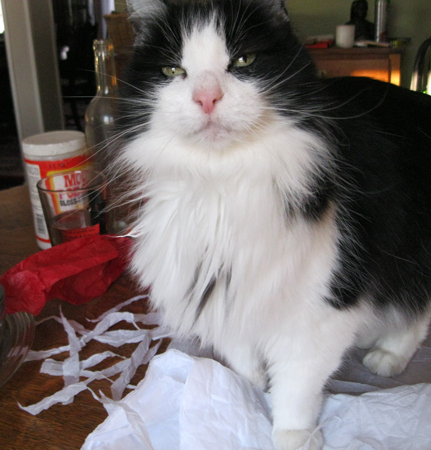
As you can see, I had a little help. Luna-da-Tuna Kitty who is 14 years old, still loves to stick her nose into my business, getting involved and even taking some time out to play with the strips of tissue paper I’ve already torn up. I love this kitty!
3. Mix 50% of the white glue with 50% of water. It’s easier to brush the glue onto your project and then over the paper.
4. Make sure the object you are decoupaging is clean and dry. If you are decoupaging something made out of wood, you might want to fill in deep gouges or with a little sand paper or a sanding block, smooth out bumps and imperfections.
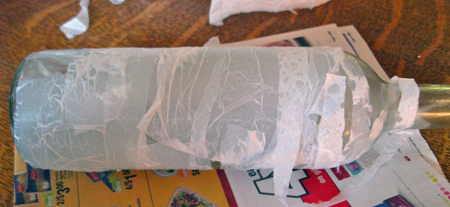
5. If you have a design in mind, lay the paper out accordingly. If not, just start gluing away. For this project, I’m using white tissue so that when it’s seal coated and dry, it’ll almost look transparent.
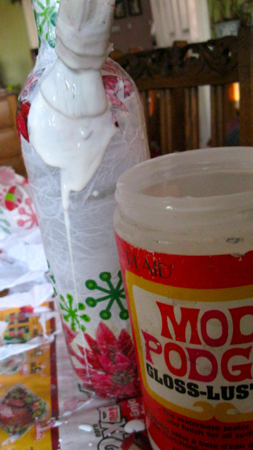
6. Paint a thin layer of glue onto your surface and where the paper is a little heavier, coat the back. Make sure you get glue all the way to the edges. With your thumb – no need for anything fancier than that – smooth the paper down.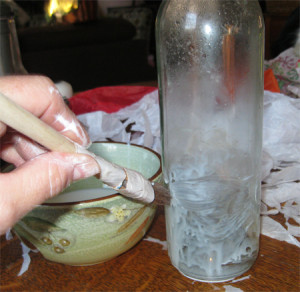
7. Let glue dry. If applying several layers, make sure each layer is dry before starting on the next.
8. Then I used my cut-out layers to create my design. I had no pre-conceived idea of what I was going to do; the layout and design just came to me as I was covered with glue. Again, the cut-out pieces came from tissue paper I had saved from a Christmas past. See, I’m RE-using here!
9. Once finished and dry, Mod-Podge away or spray with urethane or varnish. The more layers—certainly not 30 or 40—the better.
10. Once the sealant clear coat is dry, you may opt to smooth it out using the ultra fine grit sandpaper. Just make sure there are enough coats of the varnish to sand without going through the paper.
oops, kinda sloppy here!
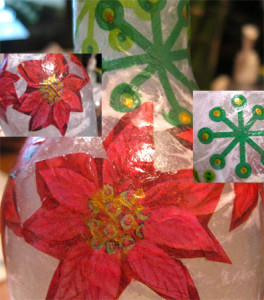
11. Now just because I have gold craft paint, I went ahead and added just a very few gold accents.
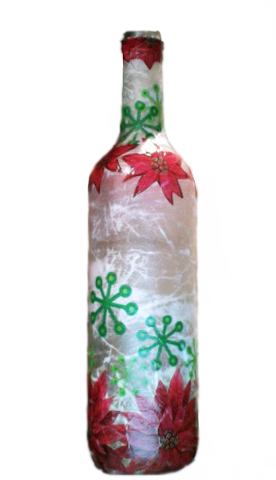
12. Now find or make a pretty cork and you’ve got one bee-ah-oo-tee-ful, original DIY gift.
Another Decoupage Project Idea
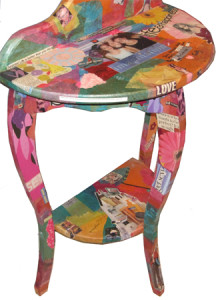
My daughter’s best buddy growing up made this table for her way back when they were high school freshmen. Clearly, the images Cady used have everything to do with being a teen aged girl. Since then, my daughter has moved the table 2 times to where it now sits in her bathroom being used for soaps and scents and all those lovely smelling accoutrements she uses every day.

You Still Have Time
I put the entire decoupaged bottle project together – start to finish – in about 3 hours (counting drying time) in one afternoon. If you start a something TODAY, you will have it decoupaged, sealed, signed and delivered in time for Christmas!
Happy Holly Daze!
Bonus:
Listen to the latest Green Divas DIY podcast for more crafty green ideas…
[dynamic-sidebar id=’Custom Widget 2′]
~Asst. Ed. Green Diva Christine
