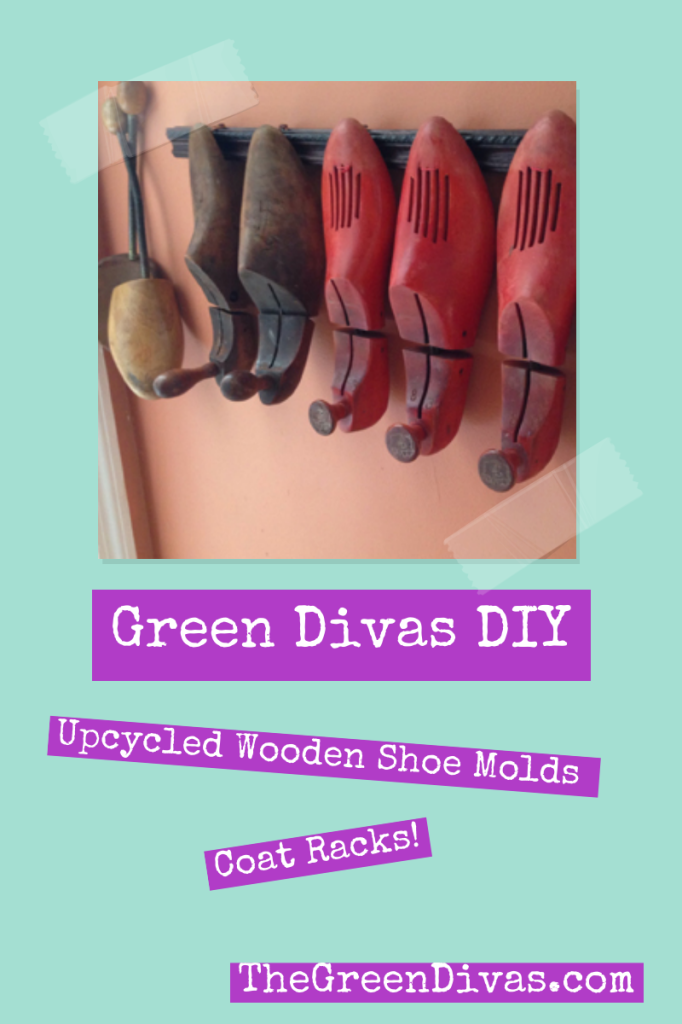
 As many of us are socked in this winter, there are lots of opportunities to do a little crafting on a cold Sunday afternoon, so if the shoe fits, an easy DIY coat rack.
There’s no way I’m getting tongue-tied on this one! I’ve had these old shoe forms for years, just kicking around the house waiting for an idea to shoe itself to me. It did and eyelet the creativity begin! 
Several easy and creative steps later and a new place to hang a hat, scarves and jackets, which in New Jersey this winter are getting a major workout! So, without any further loafer-ing around, here’s what I did.
Keeping Instep with this Project Without Clogging the Conversation
1. I grabbed a piece of left-over moulding.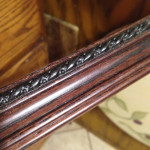
2. Arranged the shoe inserts, measuring and marking the center point of each toe.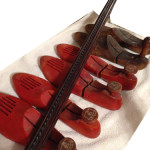
3. Cut the moulding to size.
4. Drilled small screws into the moulding for each shoe form.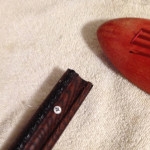
5. Threaded a piece of matching hemp thought the opening in the toe of each form, keeping it short to avoid any wobbling.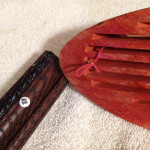
6. Painted the tops of the screws to match the moulding.
7. Found the perfect place to hang the moulding and screwed it right into the studs behind the dry wall.
8. Hung each shoe insert onto each screw and DONE!
Lacing Everything Up
I put my heart and sole into this project as I have been wanting to do SOMETHING with the old shoe inserts for years! Over all this time, I’ve had several ideas pop into my mind, but I just kept flip-flopping over what to to and how to do it. Now that I’m back in the DIY and creative saddle over here, I toed the line and got it done!
Who says you can’t teach old-dogs new tricks.
Green Diva Meg
February 27, 2014 at 4:08 pm
this is awesome! have to go find some of these old wooden shoe forms!!!