The Ubiquitous Book Cover Tutorial
It’s been a long time since my children experienced the sights, sounds and smells of the first day of school. It’s been even longer since I entered a classroom with rows of desks, a blackboard and a big ol’ black and white, analog clock over the door ticking away the (sometimes endless) minutes. I’m guessing while there will always be those standard fixtures to every classroom, now-a-days they look overwhelming different. White boards replacing black boards, computers and laptops and high tech calculators instead of the abacus … okay – I’m NOT THAT old!
Included among those standards are text books; updated, re-written, edited and tweaked but still handed out every year to every student, and just about every teacher’s first homework assignment includes, cover your text book.
In my day, when gas stations still offered FREE road maps, we’d help ourselves to enough of those colorful hand-outs to cover every book needed throughout the school year. Those days are long gone but the books still need to get covered. Lots of craft stores, discount retailers, etc., offer ready-made “book socks”. They’re colorfully designed with action figures or funky flowers or what-have-you “eye-candy” for the kids. But they’re made out of petroleum based fabrics! Oh YUK! And you have to buy them. Why? … when covering books with brown paper bags or a roll of left over wallpaper or old wrapping paper or any large sheet of paper is easy, fast, cheap and will serve as a GREAT first lesson about conservation, repurposing, reusing and refusing!
Here’s what you need 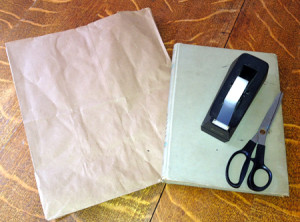
- Paper – a brown bag, old wrapping paper, left-over wall paper
- 4 pieces of Tape
- Scissors
- Pencil
Here’s what you do
1. Open up the paper bag by pulling the glued seams apart. Lay flat and trim away the tattered edges. The bag I’ve used has a BONUS … it’s already been made out of recycled paper which makes using it to make a book cover is use #3 and RE-use #2! 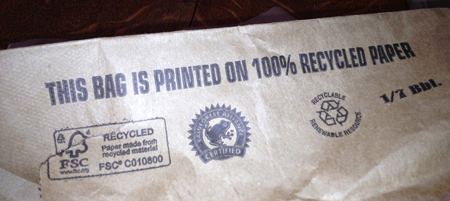 2. Place the spine of the book onto the paper and using a pencil, mark the top and bottom. Also add 2 lines diagonally from the spine to the edge of the paper.
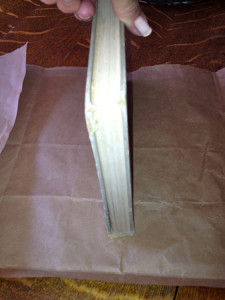
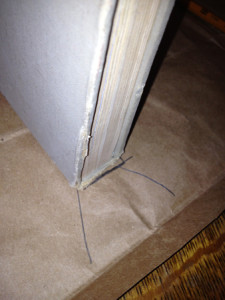 3. Cut along the diagonal lines up to the spine mark. Fold tabs inward – do not cut them off!
 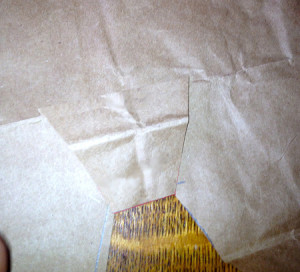 4. With the spine lined up along the tabs, drop one cover down so that it lays flat on the paper and fold the paper over the side. Hint: with the spine and one cover of the book flat on the paper, the cover will fit snugly and will not tear when the book is closed. 5. Place the book spine down, lined up with the folded over tabs at the top and bottom, let one cover drop flat as well. 6. Fold the top and bottom paper edges down making a flap over the cover.
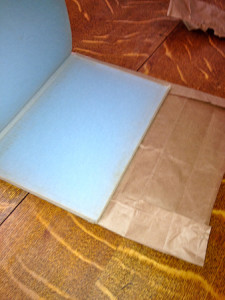
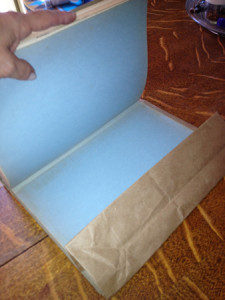 7. Fold the third side over one inch and then again over the book cover. Secure with a piece of tape at the top and a piece at the bottom.
 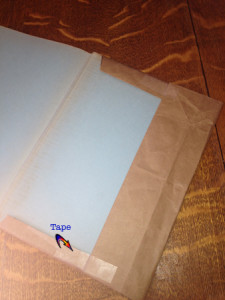 8. Repeat for the opposite side and you’re done!
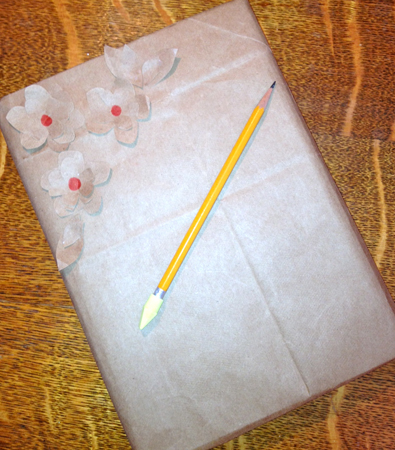
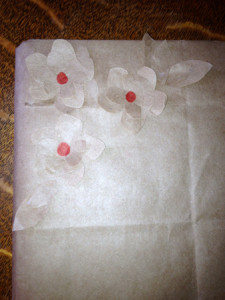
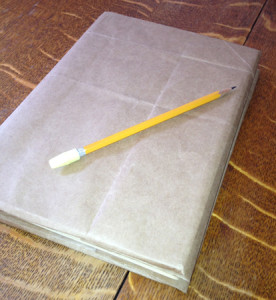 Using a blank piece of paper or a plain brown bag to cover and protect text books also has a second purpose. It also serves as a blank canvas for all those inevitable doodles par for every course in just about every classroom. Of course you and your children can have a bit of creative fun by embellishing the cover before sending it off to the classroom. I was inspired by the left over pieces of brown bag. I cut several flowers, a couple of leaves and with a dab of glue, gussied one corner of the book. A magic marker works to color in the center of my little flowers.
 Every year growing up, the first day of school was a magical day … I’ll confess in my case that feeling didn’t always last very long even though my mom did her best by following through with a tradition she grew up with in Italy; sprinkling water over the tops of our heads for good luck and to help us “grow” throughout the entire school year.
I maintained that tradition with my little ones and I’m guessing, I’ll have a bowl of water at the ready when the time comes for their children.
