 Take a Walk on the Wild Side … or not!
Every camping trip I’ve ever taken, whether it was with the Girl Scouts, with Mom and Dad and my sister, or with a bunch of friends required several essentials when setting up camp. First, collect firewood; tinder, kindling, and larger branches for fuel and while you’re at it, look for a piece of wood to make a sturdy walking stick. Once you find a strong, straight piece of wood — hickory, ash, maple — work really well. In by backwoods, I have cherry, poplar and black walnut. Which ever you choose, make sure it’s NOT green; ideally the wood should come from a fallen tree. Green wood is soft and pliable and using dead wood is also eco-friendlier.
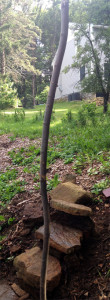
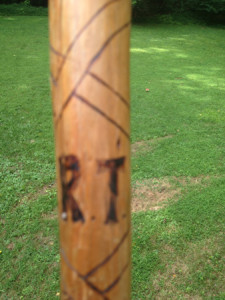
I made this walking stick for my dad, I’m guessing at least 40-years ago. He loved it!
A walking stick makes hiking so much easier. If you encounter low lying brush, use the stick to push it out of the way. If your making your way up or down hill, it’s like having a third leg to balance and help you make your way forward. I cannot make my way up a rocky slope without a good, strong walking stick.
 I remember when I used to walk with my best friend, Cody. Before we hit the woods, I’d find a stick and use it that day. Cody walked off leash which made these sometimes hour long plus walks so much more gratifying and relaxing … for both of us. After our walk, I’d lean the stick up against a tree and leave it there. I did that every time with a new stick, thinking someone else might be able to use one. And I’m guessing they did simply because the stack never really go too high.
It’s up to you how much work you want to put into a walking stick; they can be as simple as finding one, using it and leaving it in the woods where you found it. Or, with a little work, creating a long lasting, even artistic or useful walking stick is just so easy.
Make your own DIY walking stick!
Here’s what you’ll need:
- A piece of strong, straight wood, at least as tall as you are. You’ll be cutting this “to size” so a longer stick will allow for any cutting mistakes.
- Utility knife, jack knife, garden knife or a kitchen knife. Use what feels most comfortable in your hand.
- Sandpaper
- A rubber foot – optional
- A wood sealer; oil sealers are really good but messy. I like a Marine Varnish – optional
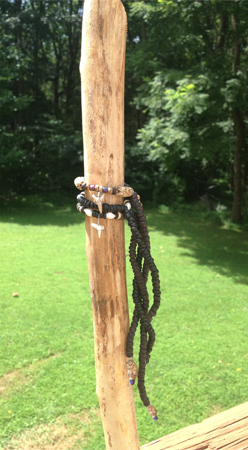
- Doo-dads, leather strips, what-have-you to “decorate” the top of your walking stick
Here’s how:
1. Find a straight, strong piece of wood; not too thick as it needs to feel comfortable in your hand. This one is not as straight as I would like, but it’s strong and the curves add character. It came from a wild cherry tree taken down by Hurricane Irene 2-years ago.
2. Using your blade of choice, remove the bark being careful not to knick or even carve out a chunk of wood. Any bumps on the wood can be shaved down with your knife.
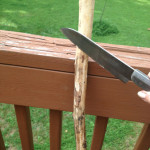
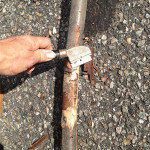 3. Sand the stick as little or as much as you’d like. Obviously the more you sand, the more bark you’ll remove and the smoother the finish will be. This is a totally personal choice.
4. Cut your walking stick to size.
Helpful hints:
1. Stand holding the stick. Remember, you may be wearing thick soled boots.
2. Grab the stick where it feels comfortable. Usually, if you bend your elbow at 90° and hold the stick directly in front of you, cut leaving 10-12 inches to the top. This leaves room to shift your hand and most importantly, for your decorations!
5. Add the rubber foot. Shave the lower end down until the foot fits snuggly.
6. Apply varnish, 2-3 coats for a good seal. Make sure to allow each coat to dry before applying the next coat.
My dad used his walking stick the rest of his life, giving it up only when he needed to switch to a cane with 4-feet for even better stability. Some time in the last 4-decades, he had me change out the rubber foot as they tend to dry out and break down.
I now have his cherished walking stick. I’m sure it will last another 40-years and longer.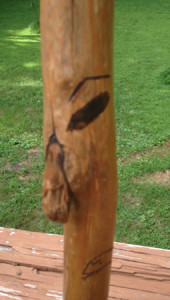
Please check out our YouTube channel to see our short, funny and useful 1 GD Minute videos with recipes and DIY tutorials. Here’s a recent one…
And if you want to learn more about the content of this video, please read the corresponding post!
