 My parents emigrated from Europe in 1957. After 5 brief years in Brooklyn, NY, they bought the house in which I grew up. It’s the first house at the top of a dead-end street with a yard much bigger than the others in the neighborhood. Mom still lives there.
 We’d play with all the neighborhood kids until Mom or Dad would ring a bell to summon us home. That bell was amazing — we heard it all the way to the end of the street and that was about a dozen homes away! Like two good little girls, we made our way home, running all the way.
One spring, when I was about 7 years old, my sister, who was 6, and I heard the bell at about dinner time. When we arrived to the edge of our yard we were shocked … I mean scared to death because someone was digging up our yard — big, deep shovels full of dirt all over the place. I wish I could tell you what I was thinking, but I can’t. I CAN tell you there were immediate tears; both my sister and I sobbing. By the time we reached the back door, we were just about inconsolable.
After washing our faces and having a laugh at our expense, our parents explained they were putting in a vegetable garden. I think we were the first in the neighborhood to have one, and it was a big one measuring about 40 x 20 feet. That’s a lot of garden and my mom and dad filled every inch; tomatoes, cucumbers, onions, basil, peppers, lettuces, borage, garlic, zucchini, eggplants, beans, broccoli and even — after cultivating the plants for 3 years — asparagus!
Dad built every inch of the infrastructure including tomato trellises, bean poles, pathways up and down so that we didn’t step in the dirt and in doing so, he used everything and anything he found around the house. I remember old galvanized pipes and piles of old pantyhose to tie back tomato plants, newspapers and old burlap bags to keep the weeds down … there isn’t much he didn’t repurpose for use in the garden.
Since those joyous, carefree childhood days where I learned SO MUCH from my parents, especially about how to connect with Mother Earth and everything around me, (and to think, they were the FARTHEST thing from hippies) I have been gardening.
SO …. Now, I have three kitties. Meet Luna ….
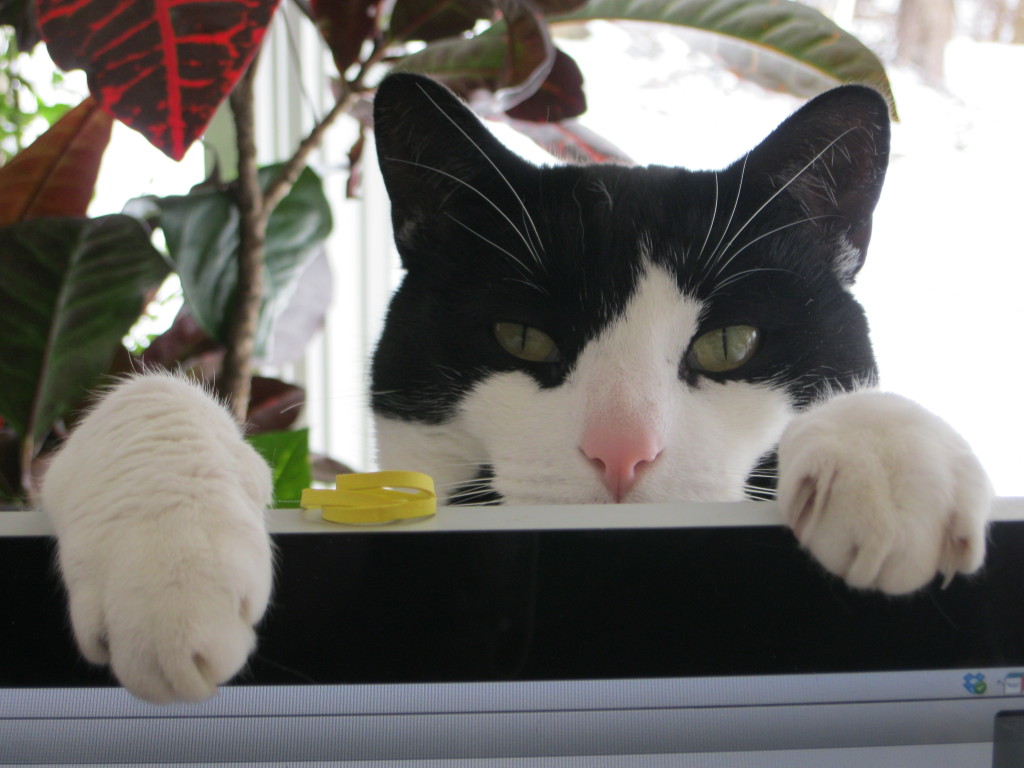
and Joey, clearly the trouble maker! Here he is climbing over my computer monitor, aiy!
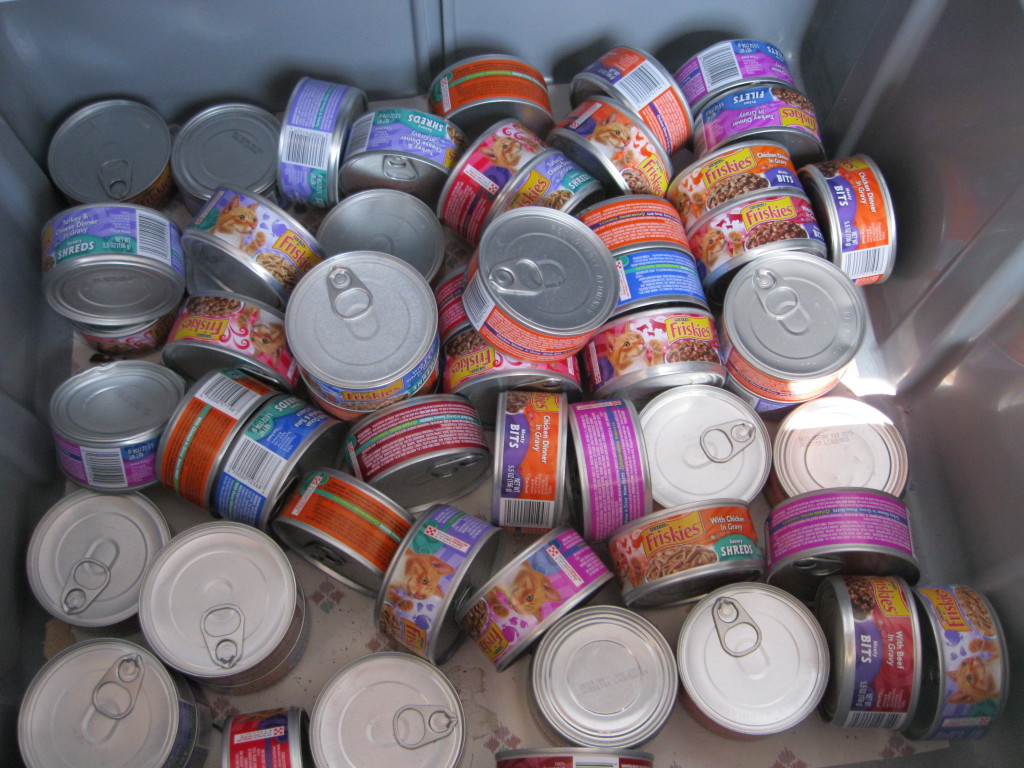
Between the 3 of them, they go through a lot of food, especially during winter months when varmints and other critters take shelter deep underground, making my kitties hungry nearly all the time. I buy their food in bulk, canned and dry … which means on a weekly basis, there are a lot of cans to recycle. Because there are so many, most go recycling center, however, I have used these lightweight, aluminum cans and their lids for many projects, especially when my not so little ones were, in fact, little.
We’ll save those crafty ideas for another day as now, as SPRING HAS SPRUNG, I’m aching to get my hands in the ground and soil under my finger nails – It’s time to GARDEN! I love everything about gardening –EVERYTHING!
When my first marriage was heading “south”, I used to say, “Gardening beats $250/hour on the therapist’s couch.” Since finding Antonio, we head out to the garden together, and together we plan, sow, nurture and reap the bounty our garden gives us year after year.
Here’s how I make garden markers that are sturdy, functional and fun!
1. Wash all the aluminum can lids, taking care not to hurt or cut myself on what are sometimes, sharp edges. 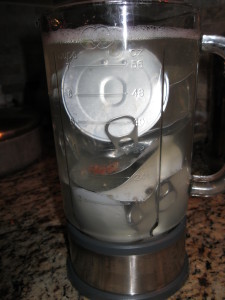
2. Gather & assemble all your components:
- the lids
- wire hangers
- pliers
- wire cutters
- a hole puncher
- wire
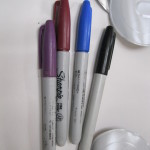
- Sharpies
- odds and ends and doo-dads for all sorts of projects; see a previous post – The “Key to Living Green”
3. Flattened the tab end of the can so that there are no edges sticking up.
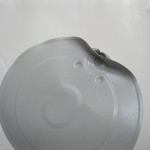
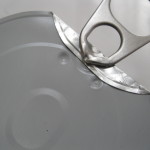
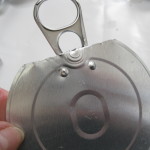
4. Using your hole punch, make a hole at the bottom of the lid. The aluminum is fairly thin; the hole punch will easily punch through. If you are using a heavier gauge can lid – like one from a can of beans or condensed milk or crushed tomatoes, the type without tabs – you may want to us a large nail and a hammer to put a TWO HOLES in the lid, one at the top and one at the bottom. The tab or the hole at the top is what you will use to hang the marker, the bottom hole is where you will use you creativity to attach whatever little charm “makes your garden grow!”
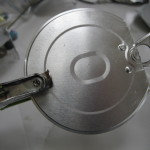
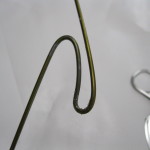
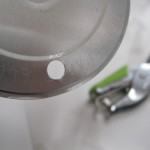 4. Cut you hanger in half. On one end, make two hooks, a larger one and then a smaller one.
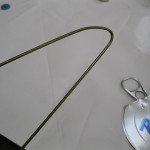
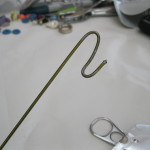 5. Using your Sharpie, start labeling; basil, mint, rosemary, whatever.
6. Attach your charms and hang your marker onto the small look and pinch closed.
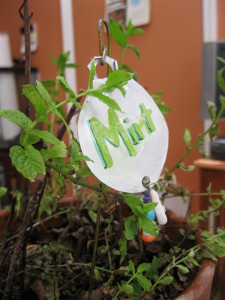
Notice the MINT marker. In this case I took a pair of sharp shears and trimmed the top tab — actually cutting off the upper opening — and trimmed the top itself, cutting off just the outer rim making it a bit smaller. I also used old funky green nail polish my daughter no longer wanted to write the word MINT. Not sure how that’s going to hold up but I figure it’s worth a try. In my case, I need quite a few for tomatoes as I plant several varieties.
These garden markers are not going to fall apart in the rain, blow away in the wind or simply disappear into the ground. The other bonus is they reflect the sun. I love how the light dances all around the garden!
Aluminum and tin cans lids are not the only thing which can be re-purposed for your garden. The list is long, clever and seemingly endless as once you really don’t need something any more, there is just about always room for it in the garden.
Creative Upcycled Planter Ideas
Lets start with planters. I have used all sorts of containers as planters … there’s really NO limit as long as you remember some containers will need to have drainage holes drilled or cut out underneath.
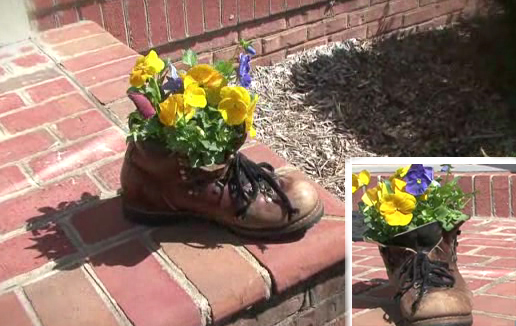
Old boots are charming and fun and can really add a lot of whimsey to your garden. I just love how the old brown leather really helps show off the vibrant, colorful flowers inside. Just be sure to drill a couple of holes in the sole so that the water can drain, otherwise you might end up with a soggy boot and overwatered plants. Need an idea or a quick tutorial, just log onto your favorite search engine and key in something like repurposing old boots into planters.
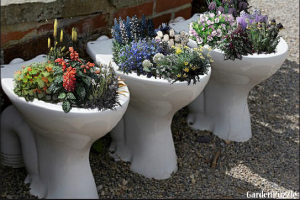
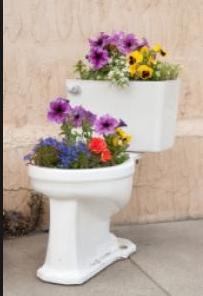
While I’m really not a fan, you see planter fashioned out of toilet bowls and bathtubs all the time. I guess my upbringing has me in the “toilet bowls are a private thing” camp. I dunno … it’s just a thing with me. Nevertheless, they are out there and of course easy to use. There are those which use just the bowl part or others where the lid is left attached for some added dimension and, if I were forced to choose, I think I’d opt for those utilizing both the bowl and tank. While it’s not the first thing I’d do in my garden, I guess it’s better than dumping the old porcelain pot into a landfill.
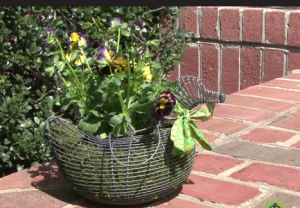
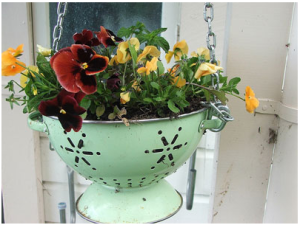
On the other hand, this colander planter, I love, especially because this one is older, made of metal (not plastic) and it’s cutouts are adorable! Staying in the bringing the kitchen into the garden theme, how about taking an old egg basket, lining it with moss, filling it with dirt and popping in your plants. Too cute and when it comes right down to it — easy and inexpensive!
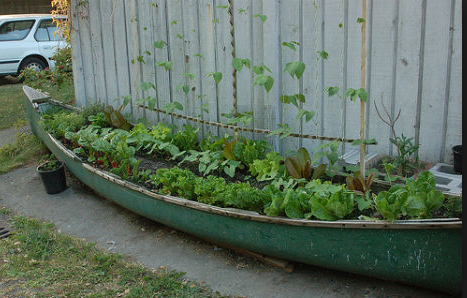
Now here’s an idea I would never have thought of …turning an old canoe or kayak into a self contained garden bed … and that’s odd since I’ve had several canoes and kayaks which had needed repairs. Since I never got around to fixing them, I just gave them away to someone who did. Darn! I’d guess the pictured canoe probably had a hole or two. If not, several were drilled along its spine. If you do need to drill hole — on a metal vessel, a large bit will do the trip. If your boat is fiberglass, the large bit will also work, BUT … make sure to wear safety glasses AND A MASK. Fiberglass dust simply does not belong in your lungs!
While surfing around for garden ideas, I ran across a blog called, Beth Evan Ramos – Living a Greener Life. A couple of years ago, Beth and her young family took a trip to Seattle, Washington and took an afternoon stroll of all the homes and gardens included in the Georgetown Garden Walk. This year, as it happens every year the walk steps off the second Sunday in July — this year it’s the 8th. Folks visit up to 30 colorful gardens and garden sites. Nearly all the gardens are designed and maintained by the gardeners themselves; most are tended organically and feature found items and repurposed materials. It’s free, no registration or tickets needed and tour maps are made available the day of the walk.
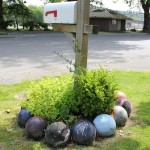
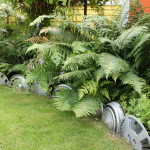
Getting back to Beth, here are some of the really nifty re-purposing ideas she saw a couple of years ago. Old bowling balls and hubcaps are being used as garden bed edging. Colorful and unique. And take a look at the rows and rows of tim can lids. Albeit labor intensive … this is a chicken coop! I guess those cold and damp Seattle winters require some pretty spiffed up housing for our egg-laying feathered friends. Wow … I can’t imaging how long this took — or how many cans of whatever (I hope they were Number 10 cans — much larger. Fewer cans required) were used to make this upscale coop!
I would guess this year’s Garden Walk will offer a lot more ideas for your garden. Pretty cool, right?! I wish I could afford the time to visit Seattle this year!
From sea to shining sea, and all around the world (I can vouch for that), clever gardeners are re-using all sorts of stuff in their gardens. Some items become functional, others simply decorative. Please log on to the The Green Divas website again next week for more fun and fanciful re-purposing ideas for your flower of vegetable garden!
I can’t wait to get my tools!








solar power
March 25, 2013 at 3:41 am
Wow, these are some great ideas! LOVE the old canoe/kayak idea. I have always wanted to use an old Victorian bath as a planter, just not sure how yet, but this has definitely inspired me!
Pingback: Make it an Earth YEAR! | PUR2o
Pingback: 69 Creative Inspirations of Upcycled Planters - Guru Koala